Docker is a Linux container management tool that enables users to publish their own container images and download those that are published by others.
The way to containerize your application is to create a Dockerfile. A Dockerfile is a file that contains the instructions for creating a Docker image.
A container is a sandbox running on your computer that is isolated from all other processes. To make a docker image, you have to write script in Dockerfile. A container:
- is a runnable instance of an image
- can be run on local machines, virtual machines or cloud
- is portable
- is isolated from other containers
A docker image is an instance of a container. When running a container, it uses an isolated filesystem. A container image provides this customized filesystem. Because the image contains the container’s filesystem, it must contain everything required to run an application, all dependencies, configurations, scripts, binaries, and so on. The image also includes additional container configuration. To make container from image, you have to run docker run IMAGE command.
In this post, we are going to use the Docker to construct an image of a Spring Boot application and run it in a container. We can send this image we created to the DockerHub with the docker push command and let the application be downloaded and used by others. I’ll go through the steps required for this in order.
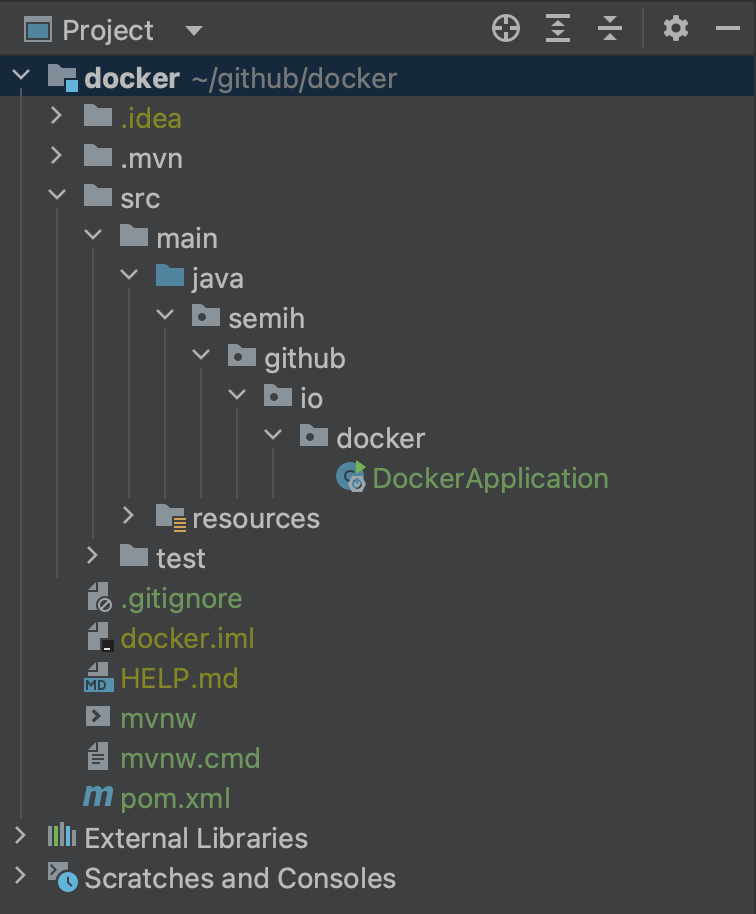
1. create a Spring Boot application Let’s generate a Spring Boot application with a standard maven plugin that includes Spring Web dependency.

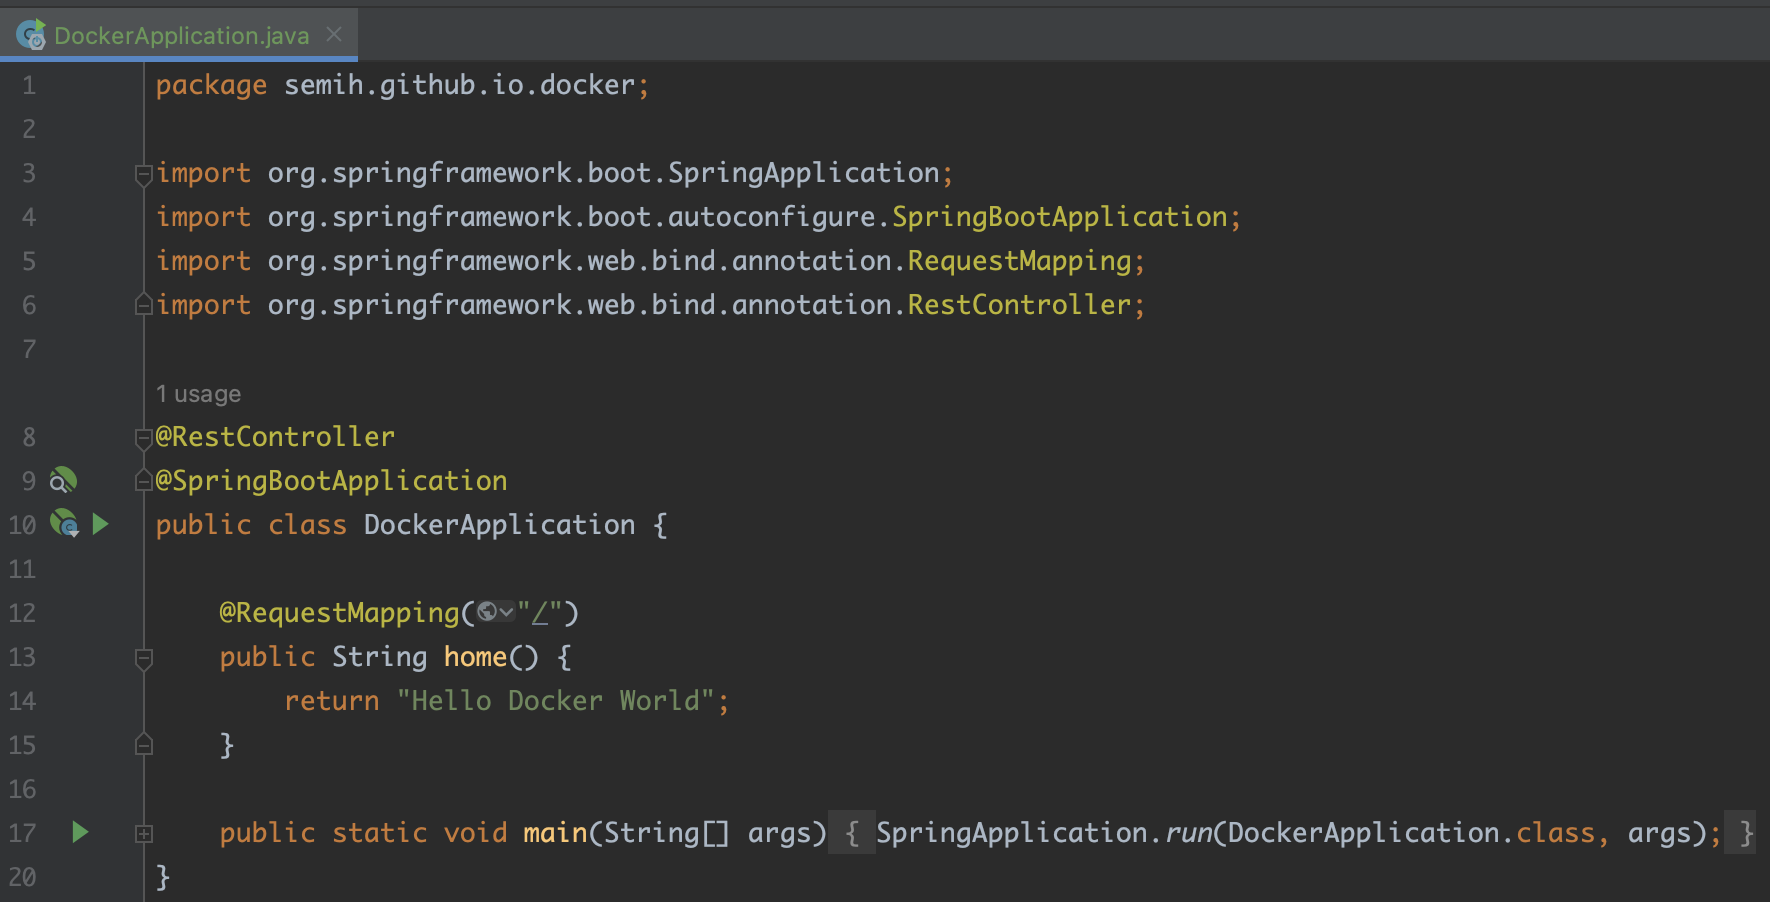
2. create a rest controller Basically, I added a rest controller to prove that the application is working.

3. add Dockerfile to the project I created a file called Dockerfile to the root directory without extension and put following 3 lines into it.
1
2
3
FROM openjdk:17-alpine
COPY /target/*.jar app.jar
ENTRYPOINT ["java","-jar","app.jar"]
4. add maven plugin as a plugin At this point, I need a maven plugin. Check the pom.xml file. You have to append it, if there is no such plugin.
1
2
3
4
5
6
7
8
<build>
    <plugins>
        <plugin>
            <groupId>org.springframework.boot</groupId>
            <artifactId>spring-boot-maven-plugin</artifactId>
        </plugin>
    </plugins>
</build>
5. define a bitbucket-pipelines(optional) I’m not going to talk about this right now because I’ll explain it in detail in the future. You don’t have to do this step right now.
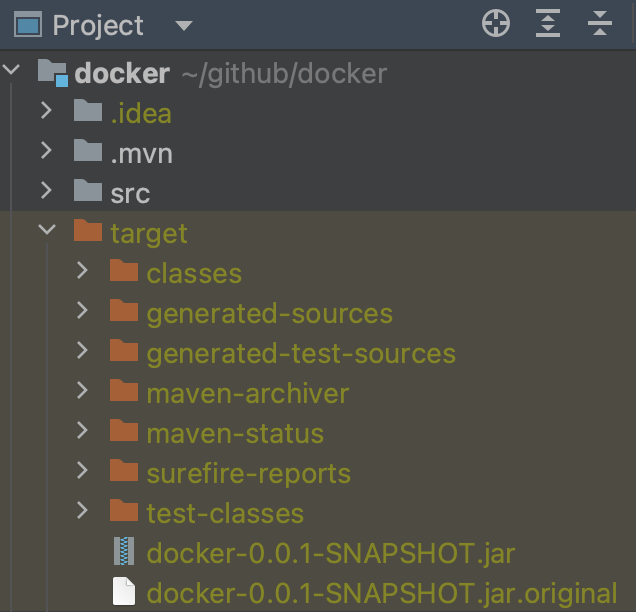
6. build the project If the maven plugin is available for you to use in the terminal, run the “mvn install” command to provide your project built. You are going to see that the target package and jar files in it are created.

7. execute java jar command
1
java -jar target/docker-0.0.1-SNAPSHOT.jar
Eventually, the project is up and running, and when I send a request from the browser, I expect to see “Hello World Docker” on the screen.
So far, our application has run flawlessly, but not in any docker container. I guess everything we’ve done so far is clear, understandable, and the way we always do.
The commands we are going to write from now on will make the project run on a docker container.
You can use the commands below to check the containers and images running on Docker.
1
2
3
docker ps -a
docker images
docker rmi a67aecce36a5
8. run docker commands for containerization
1
2
3
4
5
6
7
8
docker build -t docker-example-service .
docker run -p 8085:8085 --name docker-example-service -d docker-example-service

# to communicate with the remote database
docker run -p 8085:8085 -e PORT=8085 -e POSTGRESQL_HOST=192.168.X.X -e POSTGRESQL_PORT=5432 -e POSTGRESQL_DB_NAME=exampleDb -e POSTGRESQL_USER=postgres -e POSTGRESQL_PASSWORD=postgres --name docker-example-service -d docker-example-service

docker ps -a
docker logs -f 904957ee3ae2
And Spring Boot application is running on the Docker container as expected. 👌

Hope the information in this post is useful and sufficient for you. Please contact me if you have any questions or comments.